説明
Authorize.net WooCommerce addon adds a payment option for customers to pay with their Credit Cards.
WooCommerce 3 Compatible
機能について
- Accept Card right on your website.
- No redirecting on other url.
- Easy to install and configure
- Option to configure success & failure message
- Safe way to process credit cards and debit cards on WooCommerce using Authorize.net
- This plugin uses internal card processing, so faster and more relaible.
支援
So that others can share in the answer, please submit your support requests through the WordPress forums for Authorize.net for WooCommerce(https://wordpress.org/support/plugin/os-woocommerce-authorizenet-aim).
スクリーンショット
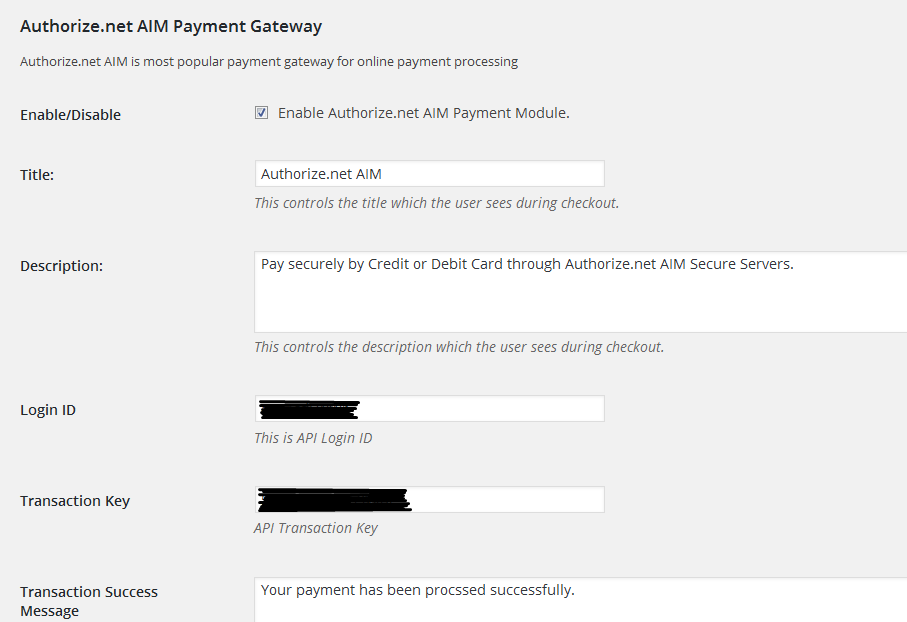
First Data admin settings 1. 
First Data admin settings 2.
インストール
Minimum requirements:
WordPress 4.3+
WooCommerce 2.6+
PHP 5.5x
MySQL 5.2x+
Installation from within backend:
- In plugin manager, click “Add New”
- Search for “os-woocommerce-authorizenet-aim”
- Click “install”
- Activate the plugin once it is installed
FTP upload installation method:
- Upload the
os-woocommerce-authorizenet-aimfolder to the/wp-content/plugins/directory using your FTP client - Activate the plugin through the ‘Plugins’ menu
Zip upload installation method (make sure uploads up to 5MB are allowed for your hosting):
- Login to your WordPress site administrator panel and head over the ‘Plugins’ menu
- Click ‘Add New’
- Choose the ‘Upload’ option
- Click Choose file (Browse) and select the os-woocommerce-authorizenet-aim.*.zip file.
- Click Install Now button.
- Once it is complete, activate the plugin.
FAQ
- Installation Instructions
-
Minimum requirements:
WordPress 4.3+
WooCommerce 2.6+
PHP 5.5x
MySQL 5.2x+Installation from within backend:
- In plugin manager, click “Add New”
- Search for “os-woocommerce-authorizenet-aim”
- Click “install”
- Activate the plugin once it is installed
FTP upload installation method:
- Upload the
os-woocommerce-authorizenet-aimfolder to the/wp-content/plugins/directory using your FTP client - Activate the plugin through the ‘Plugins’ menu
Zip upload installation method (make sure uploads up to 5MB are allowed for your hosting):
- Login to your WordPress site administrator panel and head over the ‘Plugins’ menu
- Click ‘Add New’
- Choose the ‘Upload’ option
- Click Choose file (Browse) and select the os-woocommerce-authorizenet-aim.*.zip file.
- Click Install Now button.
- Once it is complete, activate the plugin.
- A question that someone might have
-
An answer to that question.
評価
このプラグインにはレビューがありません。
貢献者と開発者
Authorize.net for WooCommerce はオープンソースソフトウェアです。以下の人々がこのプラグインに貢献しています。
貢献者“Authorize.net for WooCommerce” をあなたの言語に翻訳しましょう。